How to Build and Deploy CSS client Extension in Liferay DXP?
 January 27, 2025

When you want to extend Liferay, either by modifying its look and feel or by calling functions outside of Liferay, you should use a client extension (CX). Client extensions extend Liferay without having to deploy code directly to Liferay. You can deploy client extensions to any Liferay environment, whether you host it yourself or on Liferay Cloud.
Now a days Suppose you have one requirement that out-of-all the page, in few pages you need to apply different CSS on same UI component.
So, Liferay provides us to make CSS client extension for that. which we can apply to the particular page.
What is CSS client-extension?
A CSS Client Extension specifically refers to the custom CSS files that are applied to style the front-end of a Liferay site or page. It provides a way to override or extend the default styles of Liferay themes and portlets, giving developers full control over the visual design of their portal.
Now Let's quickly move to the implementation of CSS client extension:
Updating package.json file:
- Now update the package.json file with following code:
	{
		"devDependencies": {
		"css-loader": "6.10.0",
		"mini-css-extract-plugin": "2.8.0",
		"style-loader": "3.3.4",
		"webpack": "5.90.1",
		"webpack-cli": "5.1.4"
		},
		"name": "@liferay/liferay-sample-global-css",
		"private": true,
		"scripts": {
		"build": "webpack"
		},
		"version": "0.0.0"
	}
Let's understand package.json:
- devDependencies: Lists the development dependencies required for the project. These tools and libraries are used during the development and build process but are not included in the production bundle.
- “css-loader”: Loads CSS files and resolves any dependencies within them (version 6.10.0).
- “mini-css-extract-plugin”: This is used to extract CSS into separate files (version ^2.8.0).
- “style-loader”: Injects CSS into the DOM via <style> tags (version 3.3.4).
- “webpack”: module bundler that compiles JavaScript modules and other assets (version 5.90.1).
- “webpack-cli”: Command-line interface for Webpack, providing commands for running and configuring Webpack (version 5.1.4).
- Note: if you want/required another version then you can use it also.
Updating webpack.config.js File:
- Update the webpack.config.js file as per below. This file configures Webpack for a Liferay client extension.
	const MiniCssExtractPlugin = require('mini-css-extract-plugin');
	const path = require('path');
	const webpack = require('webpack');

	const DEVELOPMENT = process.env.NODE_ENV === 'development';

	module.exports = {
	devtool: DEVELOPMENT ? 'source-map' : false,
	entry: {
		global: './assets/global.css',
		},

	mode: DEVELOPMENT ? 'development' : 'production',
		module: {
			rules: [
				{
				test: /\.css$/i,
				use: [MiniCssExtractPlugin.loader, 'css-loader'],
				},
			],
		},

	optimization: {
		minimize: !DEVELOPMENT,
		},

	output: {
		clean: true,
		path: path.resolve('static'),
		},
	plugins: [
		new MiniCssExtractPlugin({
			filename: '[name].[contenthash].css',
		}),
		new webpack.optimize.LimitChunkCountPlugin({
			maxChunks: 1,
		}),
	],
};
Let's understand webpack.config.js:
- It sets different settings based on the environment (development or production), enabling source maps in development for easier debugging.
- The entry point is ./assets/global.css, and the build mode switches between development and production based on the NODE_ENV variable.
- It uses loaders to handle CSS files and outputs bundled files to the build/static directory with hashed filenames for cache busting.
- Additionally, it optimizes the build by minimizing files in production and limits the number of output chunks to one using the LimitChunkCountPlugin.
- Note: webpack file is responsible for the build process. where it bundles and processes your front-end assets (like CSS and JavaScript).
Updating client-extension.yaml file:
- Update the client-extension.yaml file as per below.
	assemble:
		- include: static/*.css

	liferay-sample-global-css-global:
		name: Global CSS
		type: globalCSS
		url: global.*.css
Let's understand client-extension.yaml:
- assemble: Specifies how to organize files for deployment.
- include: it includes all the files which match the specific path given to it. (e.g. in my case, include: static/*.css means that it includes all the CSS files of static directory.)
- liferay-sample-global-css-global: This section contains the configuration for the custom element to be deployed in Liferay.
- name: Global CSS -> Display the name of the custom element.
- type: globalCSS -> Type of client extension.
- url: global.*.css: -> This is specifying the URL or path pattern for the CSS file (eg. global.123.css, global.abc.css).
Let's build client-extension using following command (go to your liferay-workspace root directory):
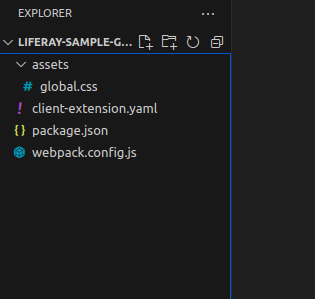
- Now, Move client-extension directory to root directory of your Liferay workspace as per below image.

- After the building process, gradle will generate one .zip file inside the dist folder inside your custom-client-extension directory (e.g. /client-extension/your-client-extension/dist).
- Now after the building process, there are two ways to integrate CSS client extension to your Liferay server.
Option 1:
- Deploy zip file to your server.
- After deployed successfully, now your client-extension has integrated with your Liferay server.
Option 2:
- Create a chunks.sh file at root directory of your theme and update that file as per below.
	ORIGIN=build/liferay-client-extension-build/static
	cat $ORIGIN/*.css > $ORIGIN/global.css
- This line sets a variable ORIGIN to the directory path where the CSS files are located.
- In this case, ORIGIN refers to the build/liferay-client-extension-build/static directory within the theme project.
- Now run the following command at root directory of your theme to combine all the CSS Files into a single CSS file.
- Go to the static folder which is in the build directory of your custom-client-extension, you will find the global.css file which is combined file of all the CSS files.
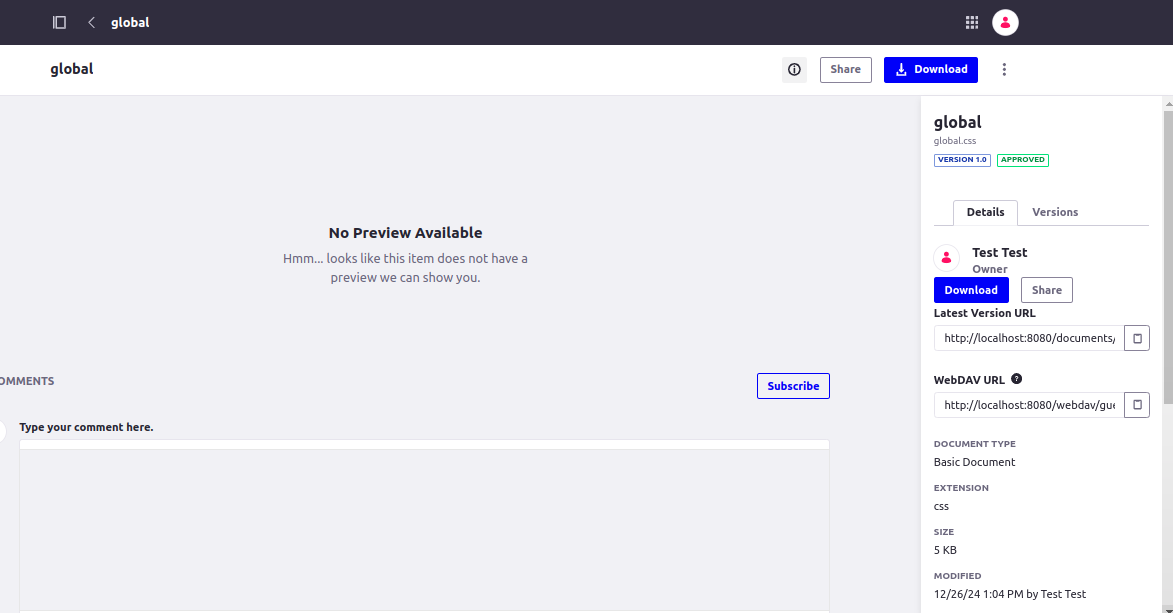
- Now Upload that file to Document and Media folder of your server.
- Now Copy the Latest version URL, after clicking on that particular file as per below Image.
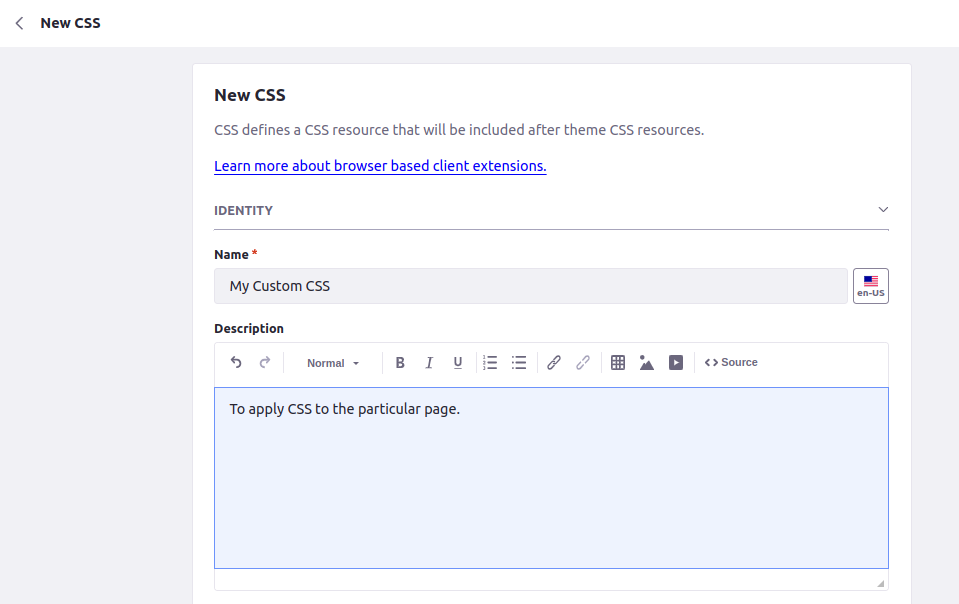
- Go to Control Panel menu, then go to Applications > Custom Apps > Client Extension. Then after click on plus (+) button and select Add CSS option to configure CSS client extension.
- Now In the Name field you can give name of your client-extension. You can also give descriptions over there.
- At below of the Identity section, in the CSS URL field paste that copied URL of CSS file which is in document & media folder, then after click on publish.
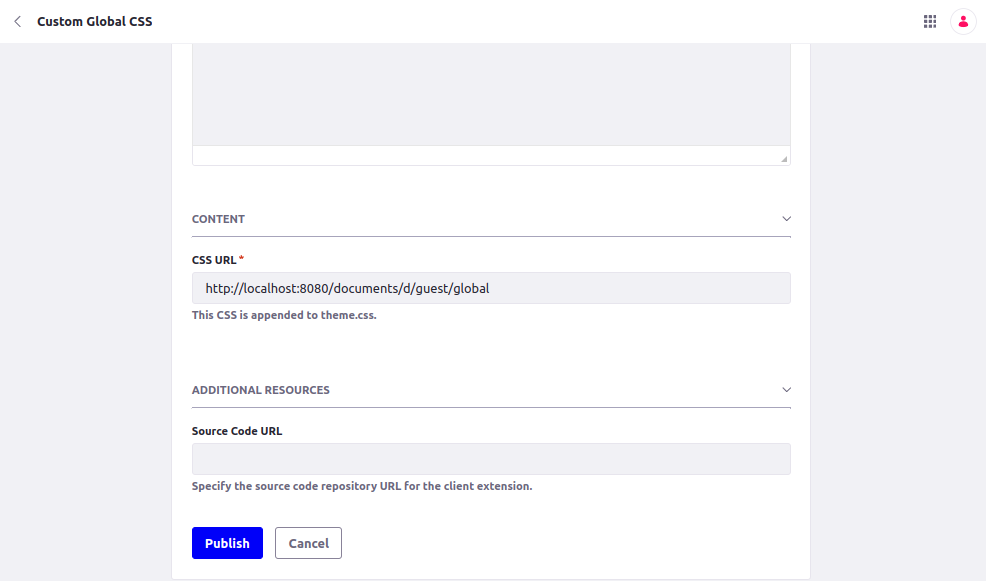
- Hurray! You have created your custom client-extension, which you have to just apply to the page.
Now, let's quickly apply client-extension to our page.
- Go to the Liferay page where you want to apply for your client-extension.
- Now edit that page from the top of the page. In the sidebar, navigate to page design option and click on configuration icon as per below image.
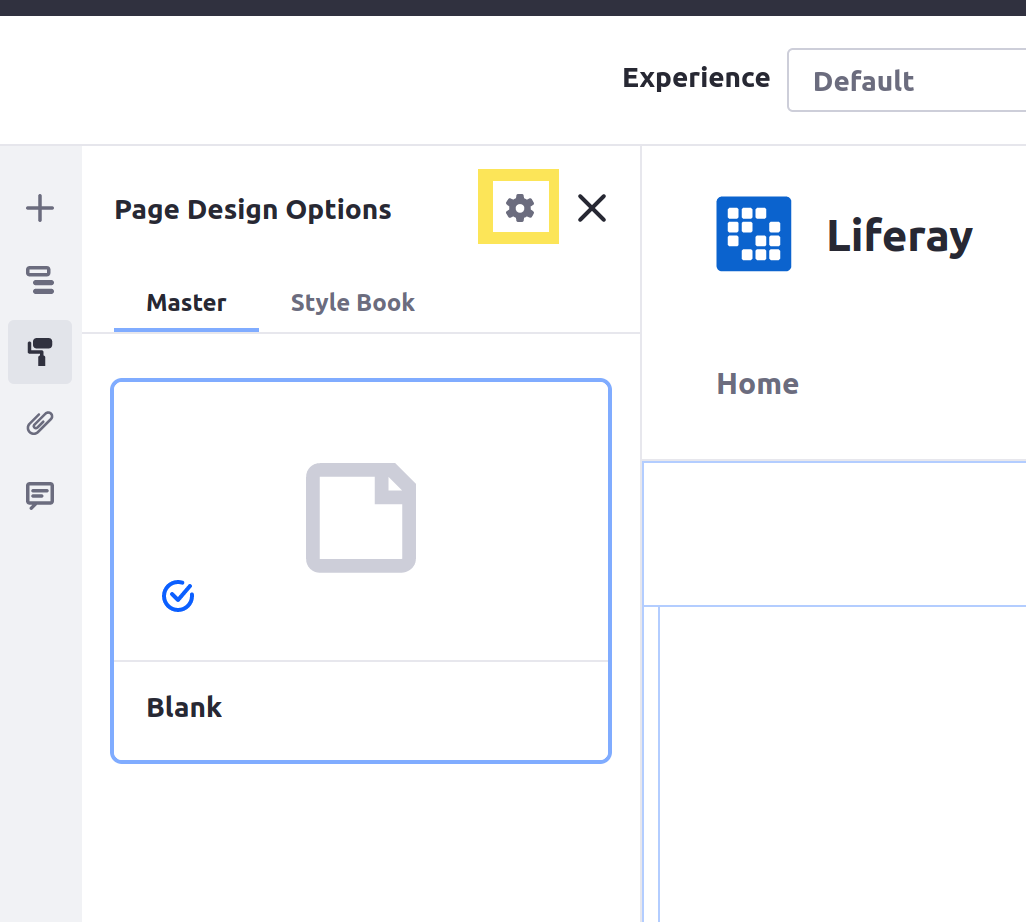
- In the CSS client extension section towards the bottom of the page, after clicking on Add CSS client extension button, you will see your deployed client extension. select it and click on the add button.
- Now at the bottom of the page click on save button and go to your page.
- Congratulations! you've successfully applied your CSS client extension to your page. See your CSS changes to that particular page.
- I’ve applied my CSS client-extension to my Test page only, So CSS are reflecting only on that page as per below images.
Home page 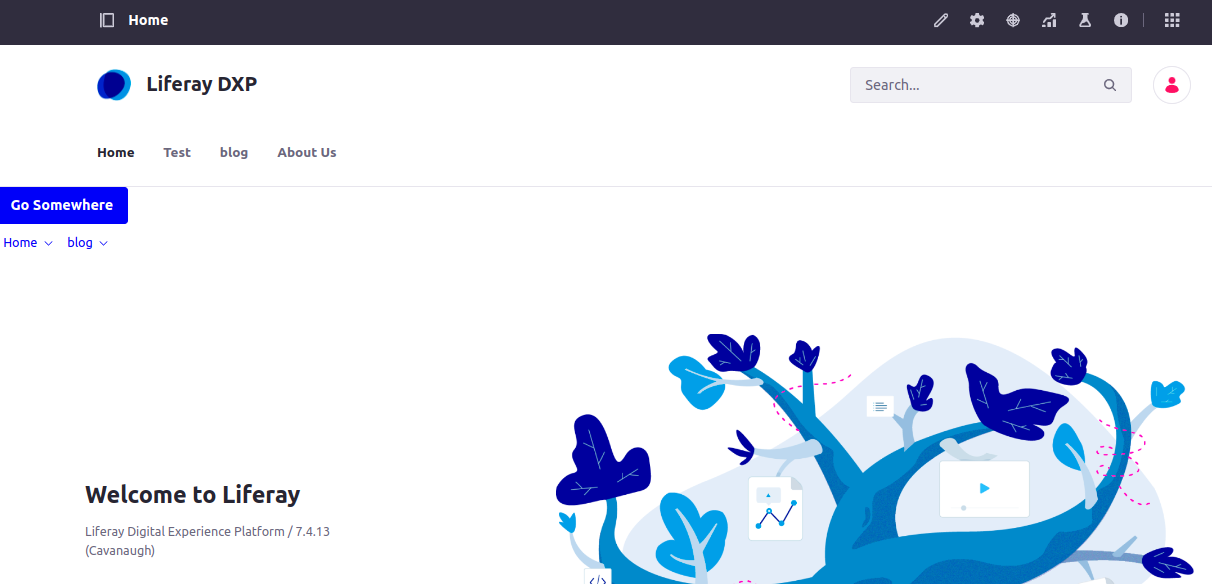
Test Page 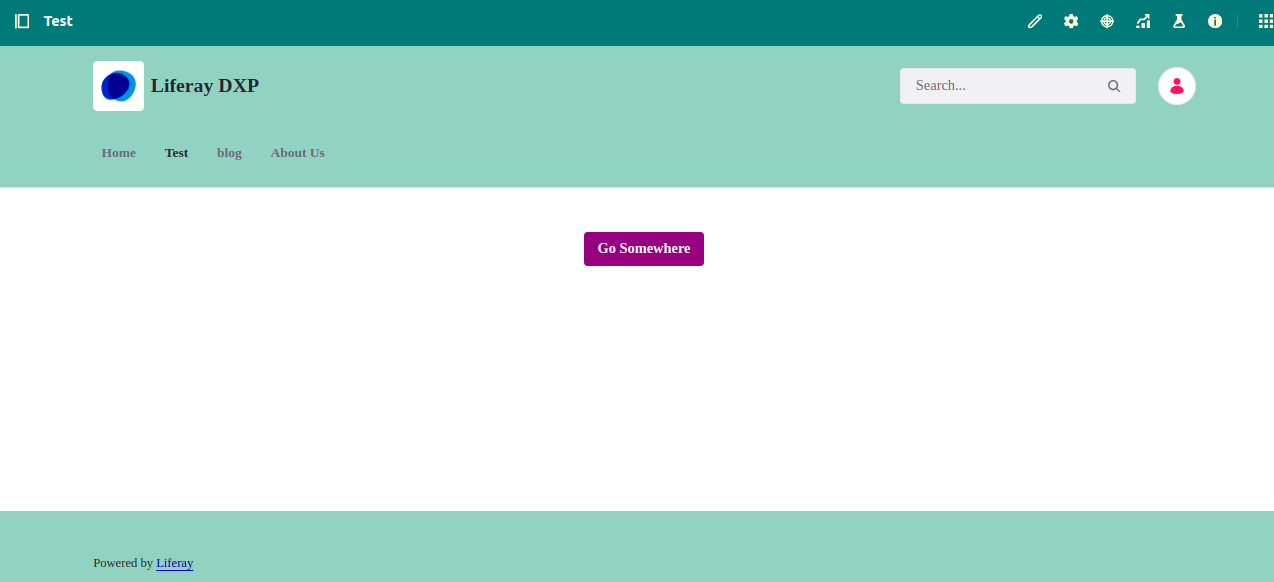
Conclusion
Liferay's CSS Client Extensions provide a simple method of customizing style for a particular page without forcing the style to run on every page. The developer can implement custom CSS files and deploy those through the client extension systems of Liferay to deliver unique styles on selected pages. This is especially useful in Liferay Theme Development, allowing developers to create highly customized themes while maintaining flexibility. Hence, it will ensure flexibility and enhance usability, letting businesses maintain one design and provide a customized view of the pages. This is an easy process: In this respect, CSS client extensions aid in streamlining customization and improving the visual design of Liferay sites.