How To Upgrade To Liferay DXP 7.4 Version: Step-By-Step Guide
 June 26, 2024
Upgrading to Liferay DXP 7.4 involves a series of steps to ensure a smooth transition with minimal downtime and issues. This guide will walk you through the specific steps for upgrading the database, custom modules, and custom themes. Additionally, we'll cover how to test each component to ensure a successful upgrade.
Backup Your Data
Creating Backups:
- Configuration Files: Backup portal-ext.properties.
- Database: Ensure a backup of your database.
- Document Library File System: Backup repositories like Sharepoint, Documentum, Nuxeo.
- Application Server: Backup the application server for easy restoration.
Validating Backups:
- Ensure backups are completed and can be restored if needed.
Database Upgrade Steps
Preparation:
- Ensure your database is backed up.
- Verify compatibility of the database version with DXP 7.4.
Upgrade Process:
- Stop Liferay: Ensure the Liferay server is stopped.
- Backup Database: Perform a full backup of your database.
- Create Upgrade Database: Create new schema for the upgrade version and import data-dump taken from your current application version.
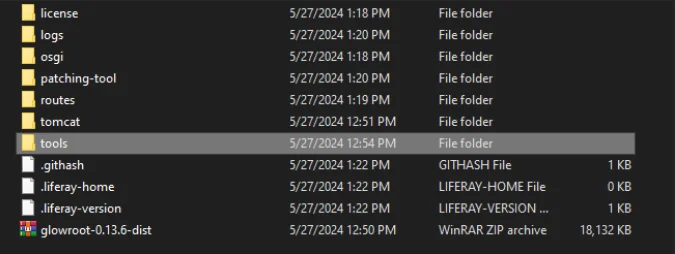
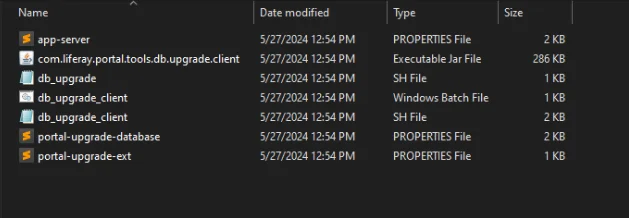
- Run Upgrade Tool: Use the Liferay upgrade tool to upgrade the database schema to 7.4. Go to the tools/portal-tools-db-upgrade-client folder from root level of Liferay server.
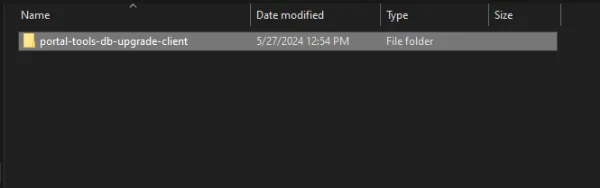
Now,click on the db_upgrade_client.sh (Linux OS) and db_upgrade_client.bat (Windows OS)
The script may ask you several questions. Here are some common prompts and example responses:
- Please enter your Liferay home (Your liferay server's root directory path):
- /home/st25062102/Downloads/liferay-dxp-tomcat-2024.q1.12-1717400515/liferay-dxp
- Please enter your application server:
- Please enter your application server directory:
- /home/st25062102/Downloads/liferay-dxp-tomcat-2024.q1.12-1717400515/liferay-dxp/tomcat
- Please enter your extra library directories in application server directory:
- Please enter your global library directory in application server directory:
- Please enter your portal directory in application server directory:
- Please enter your database:
- Please enter your database JDBC driver class name:
- Please enter your database JDBC driver protocol:
- Please enter your database host:
- Please enter your database port:
- Please enter your database name:
- Please enter your database username:
- Please enter your database password:
Note: These are example responses to the prompts, not actual answers.
- Check Logs: Review logs for any errors or warnings.
- Verify Data: After the upgrade, verify the integrity of the data.
Post-Upgrade Testing:
- Ensure all data is accessible and no data corruption occurs.
- Validate database performance and query responses.
Custom Module Upgrade Steps
Preparation:
- List all custom modules ordered independently with other modules currently in use.
- Review release notes for changes in APIs and dependencies.
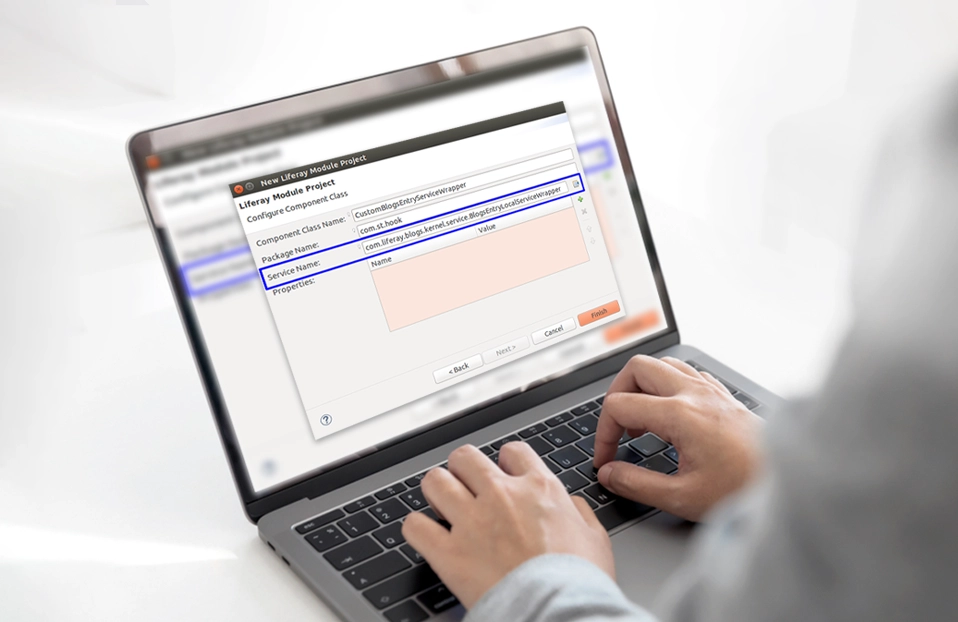
- In MVC portlet, don't change the value of portlet-namespace . If we change it'll not automatically map on page.
- In Service-builder, don't change the value of package-path in service.xml as well as Bundle-SymbolicName in bnd.bnd of service module.
Upgrade Process:
- Update Dependencies: Update your custom modules to be compatible with Liferay DXP 7.4.
- Change dependencies in build.gradle .
- Code Changes: Modify the code to accommodate API changes.
- Use Liferay's Java Docs and Breaking Changes documentation.
- Rebuild Modules: Rebuild the modules using the updated SDK.
- Deploy Modules: Deploy the updated modules to the Liferay server.
- Command: ./gradlew deploy
Post-Upgrade Testing:
- Verify each custom module's functionality.
- Check for any deprecated API usage or runtime errors.
- Perform end-to-end testing to ensure modules integrate well with the upgraded platform.
Custom Theme Upgrade Steps
Preparation:
- Identify custom themes and gather related source files.
- Review changes in the Liferay theme development framework.
Upgrade Process:
- Update Theme Dependencies: Update your custom theme to be compatible with DXP 7.4.
- Update package.json and other configuration files.
OR
- We can run the gulp upgrade command from inside theme's folder.
- Adjust Styles and Templates: Modify CSS, JavaScript, and template files to align with new features and changes in DXP 7.4.
- Rebuild Theme: Rebuild the theme using Liferay's Theme Generator.
- Deploy Theme: Deploy the updated theme to the Liferay server.
Post-Upgrade Testing:
- Validate the visual appearance and layout of the custom theme.
- Test responsiveness and compatibility across different devices and browsers.
- Ensure all theme-specific functionalities work correctly.
Conclusion
By following this comprehensive guide, you can successfully upgrade to Liferay DXP 7.4, ensuring that your environment, custom modules, and themes are all functioning correctly. Proper planning, thorough testing, and leveraging available resources will help you achieve a smooth and efficient upgrade process.
Explore our comprehensive Liferay DXP Upgrade and Migration Services to discover how we can elevate your digital experience today!